Roof Flashing Repair in Bradenton, FL
Flashing details protect the most vulnerable points of your roof — where surfaces meet walls, where valleys concentrate water flow, and where penetrations pass through the roof deck. When flashing corrodes, separates, or loses its seal, water enters the building at these transition points. We diagnose flashing failures, replace deteriorated components, and restore proper water redirection at every junction.
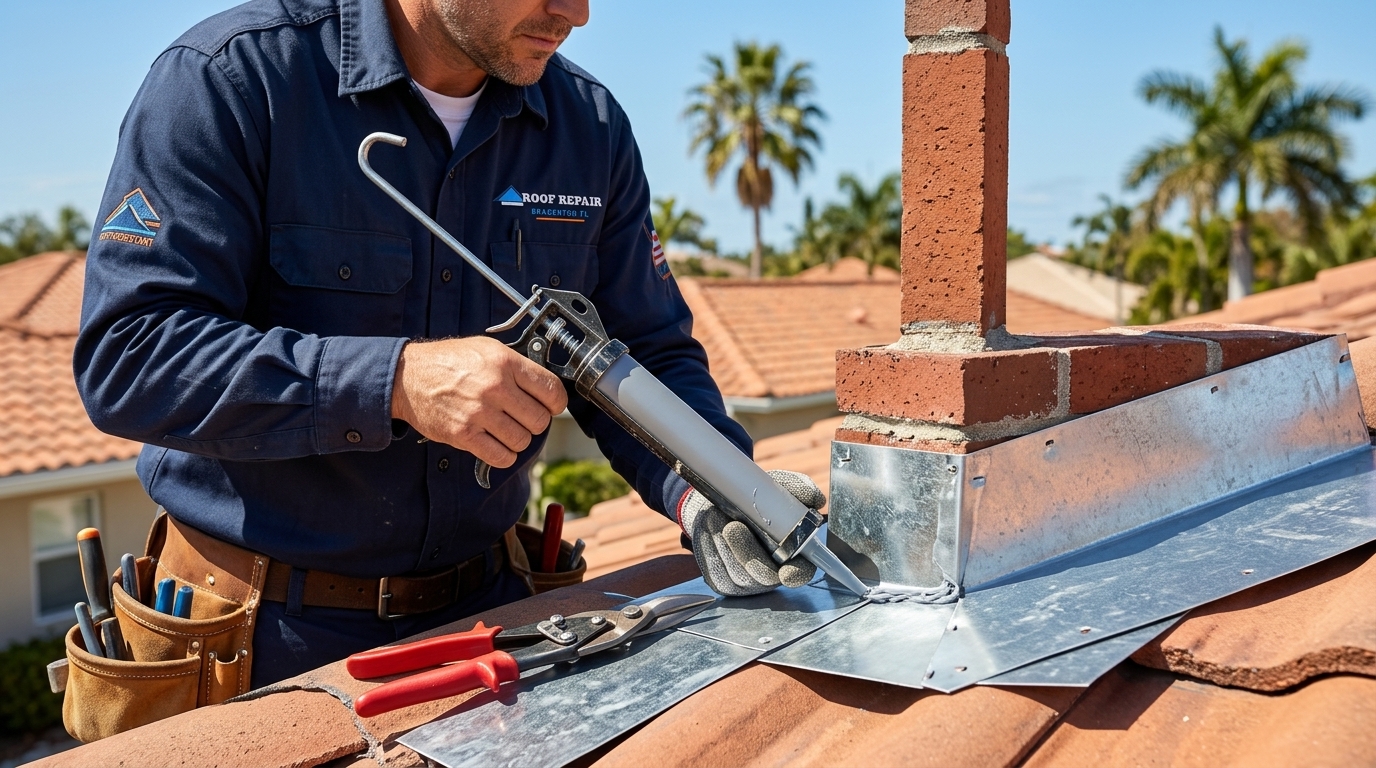
Types of Roof Flashing We Repair
Each type of flashing serves a specific function at a specific roof transition. Understanding these distinctions helps explain why a leak near a wall or chimney often points to flashing failure rather than roofing material failure.
Step flashing at roof-to-wall junctions
Step flashing consists of individual L-shaped metal pieces woven into each course of roofing material where the roof meets a vertical wall. When step flashing separates from the wall or corrodes through, water enters the wall cavity behind the roofing material.
Counter flashing over step flashing
Counter flashing is embedded in the wall surface and overlaps the step flashing below. It provides a second line of defense at wall transitions. When counter flashing pulls away from the wall — due to mortar deterioration or sealant failure — water runs behind the step flashing underneath.
Valley flashing where roof slopes meet
Valleys concentrate water flow from two converging slopes into a single channel. Valley flashing — whether open metal or woven beneath shingles — handles this concentrated flow. When valley flashing corrodes, dislodges, or develops holes, leaks appear along the valley line.
Drip edge and rake edge flashing
Drip edge protects the fascia board and directs water into the gutter instead of behind it. When drip edge is missing, corroded, or improperly installed, water wicks behind the gutter and reaches the fascia board and soffit — accelerating wood rot.
Signs Your Flashing May Be Failing
Water stains on walls near the roofline
Interior staining on walls where they meet the ceiling — especially near a chimney, dormer, or wall-roof junction — is one of the most reliable indicators of flashing failure.
Rust streaks on exterior walls or siding
Rust-colored staining running down exterior walls below flashing locations indicates corroding metal that will eventually perforate and leak.
Visible gaps between flashing and wall surface
If you can see daylight or gaps where metal flashing meets a wall — from the ground or from a window — the seal has failed and water can enter during rain.
Cracked or missing sealant at flashing edges
Sealant used to bridge small gaps at flashing edges dries, cracks, and fails over time — especially under Bradenton's UV exposure. Once the sealant breaks, the gap it was sealing is open to water entry.
Why Flashing Fails in Bradenton's Climate
Galvanic Corrosion
When dissimilar metals contact each other in the presence of moisture — common where aluminum, galvanized steel, and copper meet on the same roof — galvanic corrosion accelerates the deterioration of the less noble metal. This is particularly common in Bradenton's humid environment.
- White or green oxidation at metal junctions
- Pitting or perforation of thinner metal
- Accelerated rust at contact points
Thermal Expansion Stress
Metal flashing expands and contracts with temperature changes. In Bradenton, roof surface temperatures can swing dramatically between afternoon sun and overnight cooling. This repeated cycling stresses sealant joints, loosens fasteners, and can buckle or warp flashing over time.
- Wavy or buckled flashing sections
- Pulled-out fasteners
- Broken sealant at expansion joints
Storm Damage and Wind Uplift
High winds during thunderstorms and tropical systems can catch exposed flashing edges and peel them away from the wall or roof surface. Once lifted, flashing rarely re-seats properly — the seal is broken and the transition is exposed until repaired.
- Lifted or bent flashing edges
- Flashing sections on the ground after storms
- New leak appearing after a wind event
Why Sealant Alone Does Not Fix Flashing Problems
A common DIY approach to flashing leaks is applying caulk or roofing sealant over the visible gap. While sealant has a role in flashing systems, it is not a substitute for properly installed and integrated metal components.
Sealant exposed to direct sunlight in Bradenton's climate degrades quickly — often within a year or two. It becomes brittle, cracks, and the gap reopens. Meanwhile, the underlying issue — a corroded piece of step flashing, a separated counter flashing, or a failed valley detail — continues to deteriorate beneath the sealant layer.
Proper flashing repair involves removing the failed component, replacing it with correctly sized and shaped metal, and integrating it into the surrounding roofing system so that water is redirected without relying on sealant as the primary barrier.
Flashing Repair Process
Inspect All Transition Points
We examine every flashing location — walls, chimneys, valleys, edges, and penetrations — looking for corrosion, separation, broken sealant, and signs of water entry at each junction.
Identify the Specific Failure Point
Flashing leaks often produce water stains some distance from the actual failure point. We trace the water path back to the source, identifying exactly which flashing detail has failed.
Remove and Replace Failed Flashing
Corroded or damaged flashing is removed and replaced with properly sized and shaped metal components. Each piece is integrated into the surrounding roofing material following correct overlap and layering sequences.
Verify Water Redirection and Seal
After installation, we verify that water is being properly redirected at the transition point. Sealant is applied only where it serves as a secondary barrier — never as the primary waterproofing mechanism.
Flashing Repair Options
Flashing Repair FAQ
Flashing is sheet metal or other material installed at transitions — where the roof meets walls, chimneys, valleys, vents, and edges. It redirects water away from these vulnerable junctions. When flashing fails, water enters the building at the transition point, often causing damage inside walls and ceilings before the leak becomes visible.
Common signs include water stains on interior walls near the roofline, rust streaks on exterior walls below flashing locations, visible gaps between flashing and the wall or roof surface, and cracked or missing sealant at flashing edges. Some flashing failures are only detectable during a roof-level inspection.
Minor issues like cracked sealant or a small separation can often be repaired in place. However, corroded, warped, or extensively deteriorated flashing typically needs replacement. The condition of the flashing and the surrounding roofing material determines which approach is appropriate.
Flashing sits at transition points where different materials and surfaces meet. These junctions experience more thermal movement, more water concentration, and more stress from differential expansion and contraction than field areas of the roof. This makes flashing inherently more susceptible to failure over time.
Common flashing materials include galvanized steel, aluminum, copper, and lead. In Bradenton's humid and occasionally salt-laden air, galvanized steel can corrode over time. Material selection depends on the application, the existing roof system, and longevity requirements.
Suspect Flashing Failure? Schedule a Professional Inspection
Flashing problems produce leaks that are often difficult to trace because water travels along the metal before dripping into the building some distance from the actual failure. A professional inspection identifies the source, assesses all transition points, and provides a repair plan to prevent continued water entry.